Mirka OSP Process
1/7 -
Standardized step-by-step OSP Process

Follow the instructions on this video for a simplified OSP repair process.
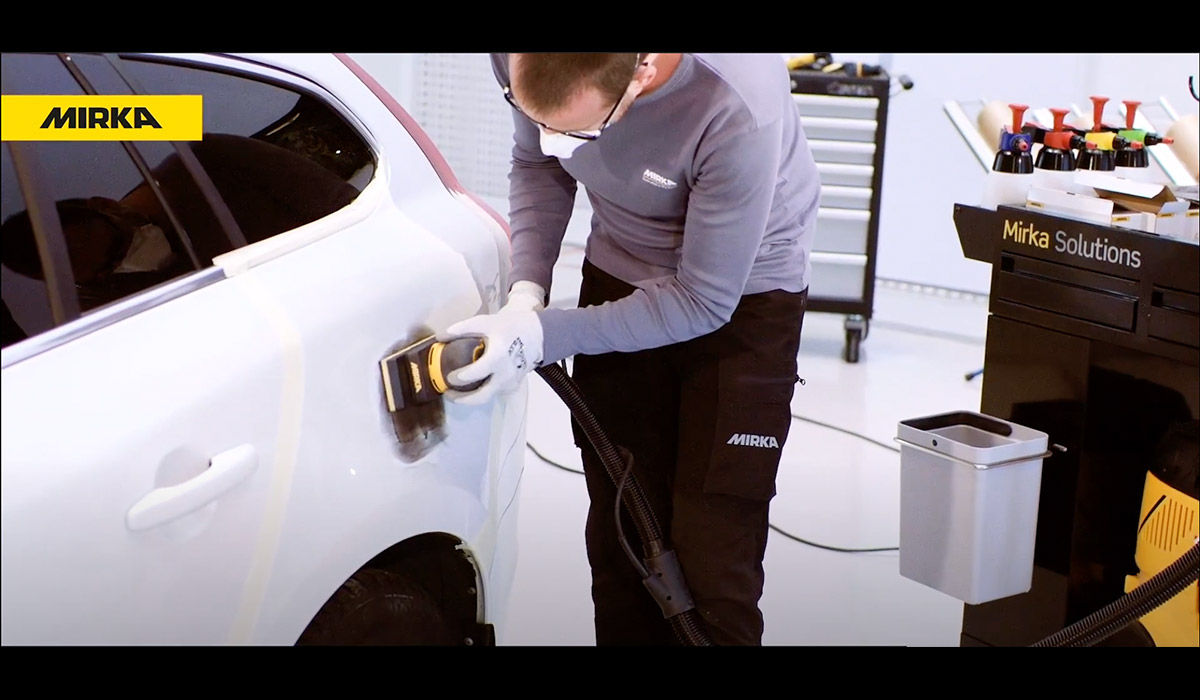
2/7 -
Remove paint from damaged area
Start with using Disc No. 1 for paint removal. The net structure of the disc enables a dust-free working environment.
3/7 -
Feather edge
Use the disc marked No. 2 for feathering the paint edge.
4/7 -
Level polyester filler
Apply polyester filler, let it dry and level it with the Strip No. 1 for large areas.
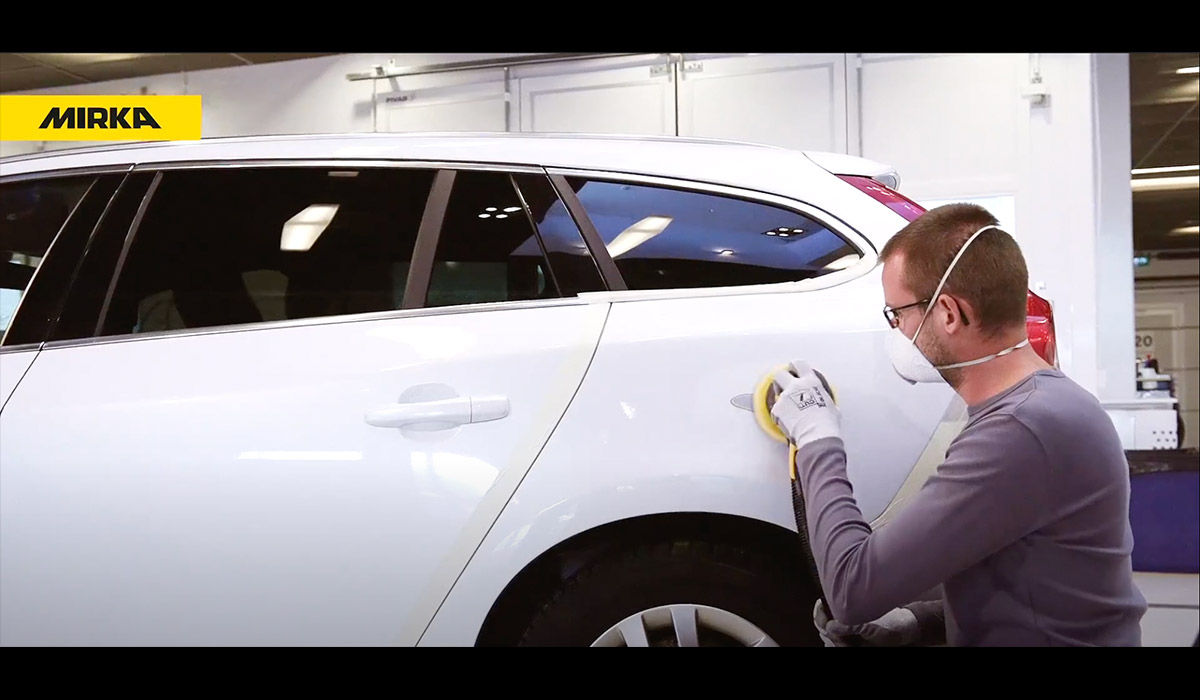
5/7 -
Prepare for primer
Use Disc No. 3 to prepare for primer. Apply primer and let it dry.
Re-apply dry guide coat and leave structure on primer with Disc No. 3.
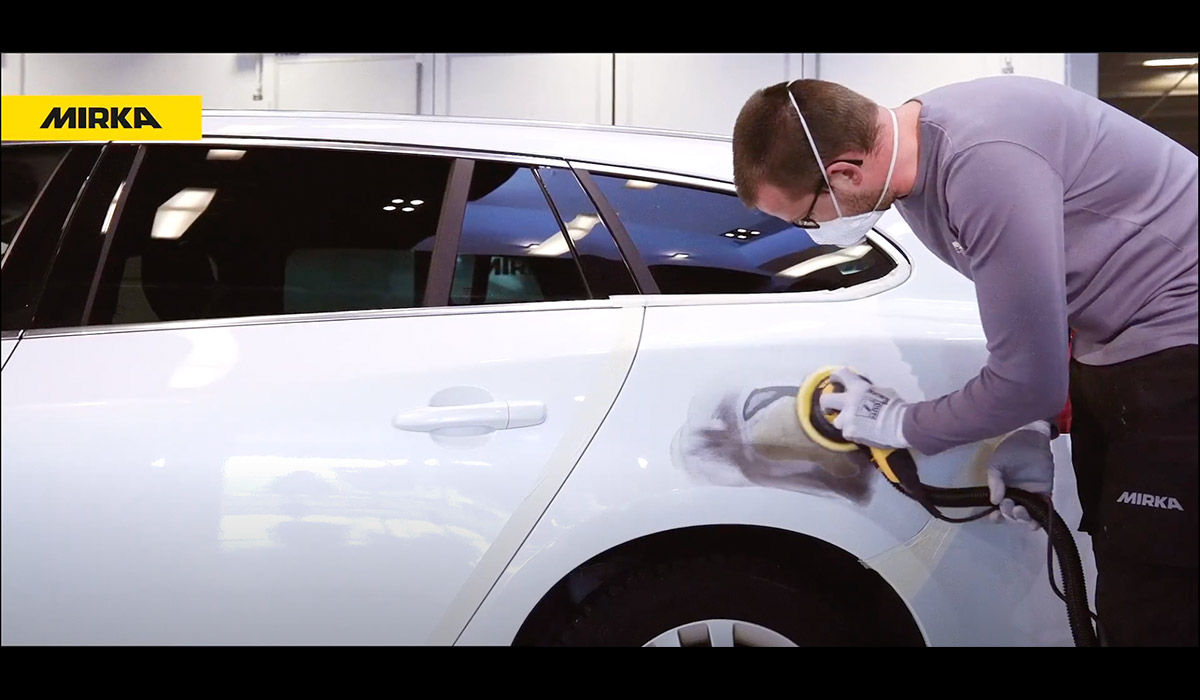
6/7 -
Finalise sanding
Finalise sanding with Disc No. 4.
Mask the vehicle and the working area prior to final painting.
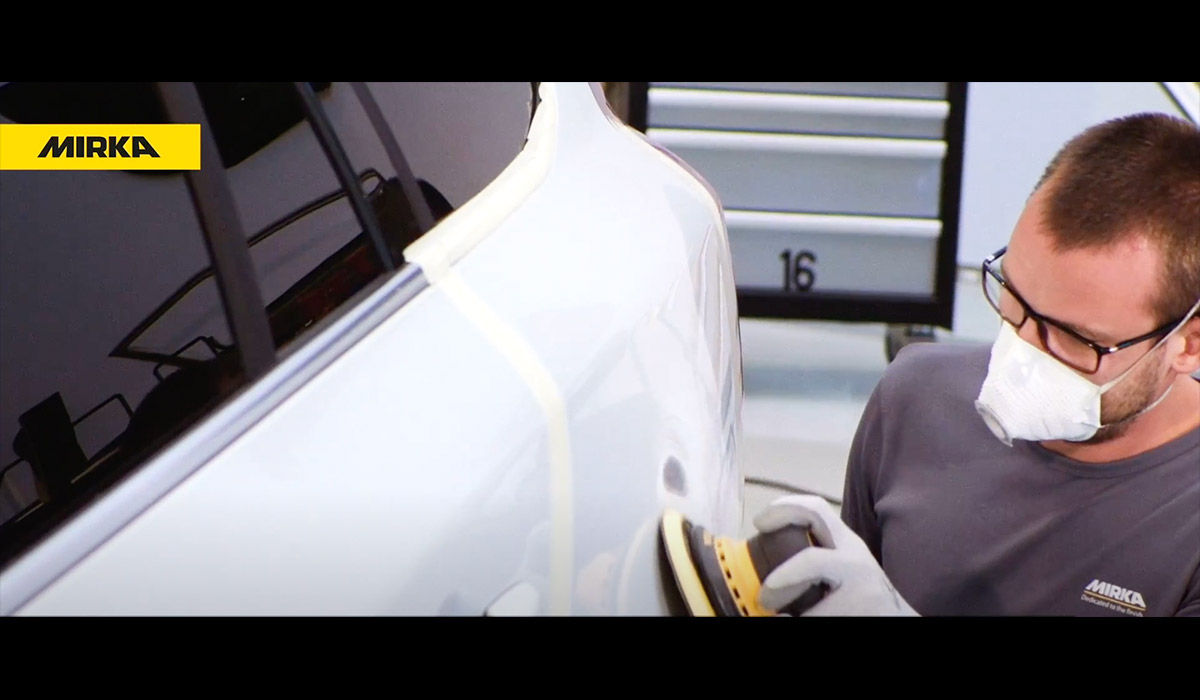
7/7 -
Feather out and finalise prior to painting
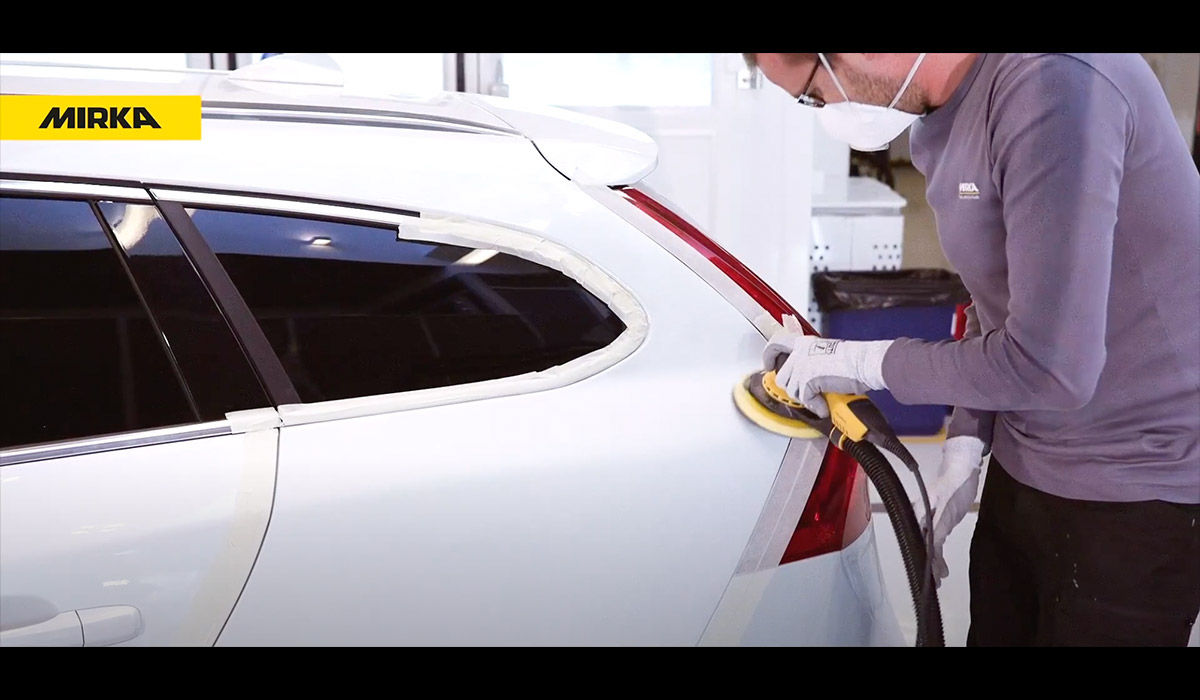
Finishing Pad No. 4 helps you to finalise uneven surfaces.
Use Mirlon Total to feather out hard-to-reach areas prior to painting.